|
|
Faux Drawbench glass bi-cone beads - a mini tutorial
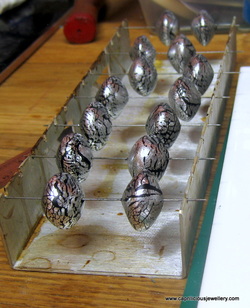
This tutorial shows you how to make these pretty bicone beads with a silver leaf crackle finish. There are quite a few tutorials that use metal leaf with a crackle finish - this one, however, does not require you to pass the clay through a pasta machine to crackle it and is ideal for beginners, and those who do not have a pasta machine. Indeed, the idea is to try and make the crackling as fine as possible, giving the effect of a glass drawbench bead.
There is very little wastage of veneer with this method and the crackles you obtain on the bead are fine. If you want the crackles to be coarse, the clay has to go through a pasta machine, and this tutorial is unsuitable for your purpose.
There is no wastage, as you can make as little or as much of the veneer as required, and use scrap clay to fill the veneer.
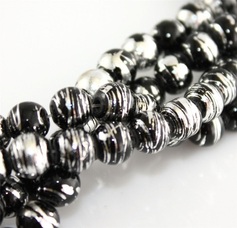
Before we start, this is what glass drawbench beads look like. You can get them in many colours, but I chose black and silver as the other colours are transparent. You can colour the silver foil with alcohol inks if you want a coloured foil effect.
Materials
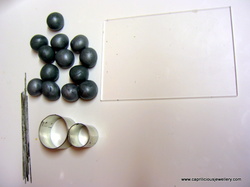
- 1/4 oz of conditioned black clay rolled to No 6 ( the setting before the last one) on the pasta machine, or to a two card thickness. Place this sheet on a piece of greaseproof paper.
- A tile or glass surface to work on
- 2 oz of scrap clay, well conditioned
- Silver foil - two sheets or enough to cover the sheet of black clay
- An acrylic sheet, about 4" x4"
- Circular cutters in three sizes
- Baby wipes
- A bead baking rack and bead pins
- Varnish and brushes
- Liquid clay - optional
- Hand held drill/ pin vise
Start by conditioning 1/4 oz of black clay
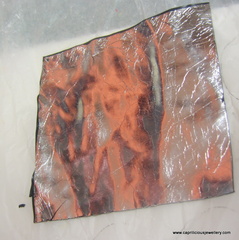
Placing the black sheet of clay sheet on greaseproof paper, trim it to fit the sheet of silver leaf. Put the sheet of clay over the silver leaf and burnish gently using a finger - this method is better than trying to put the foil on the clay as this method causes wrinkling of the foil. When you turn the clay over, the silver leaf will be adherent to the black clay.
This will now be called the 'silver sheet'.
This will now be called the 'silver sheet'.
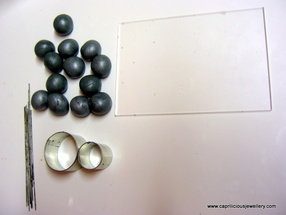
Having conditioned the scrap clay and rolled it out uniformly to the thickest setting on the pasta machine (5-6 playing cards thick) cut out circles from the sheet and roll a number of equal sized beads - my beads are approximately 18mm in diameter and were made with one circle each from a medium and small cutter.
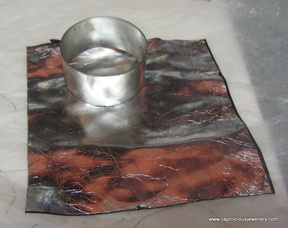
Cut a circle out of the silver sheet using the largest of the three cutters.
|
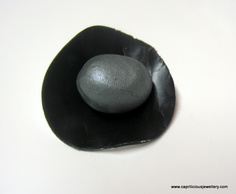
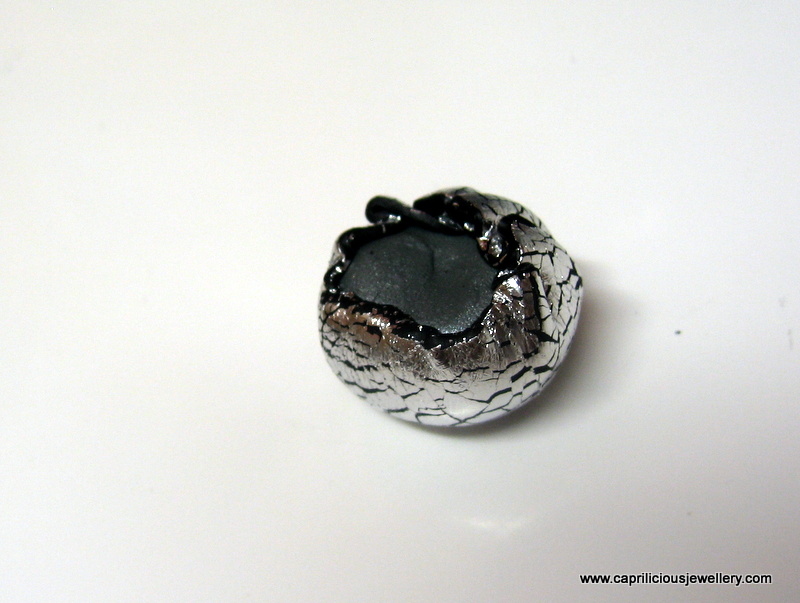
Place a scrap clay bead in the circle cut from the silver sheet and bring the edges together. Do not manipulate the silver circle too much -
|
|
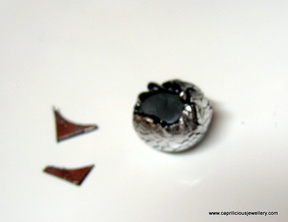
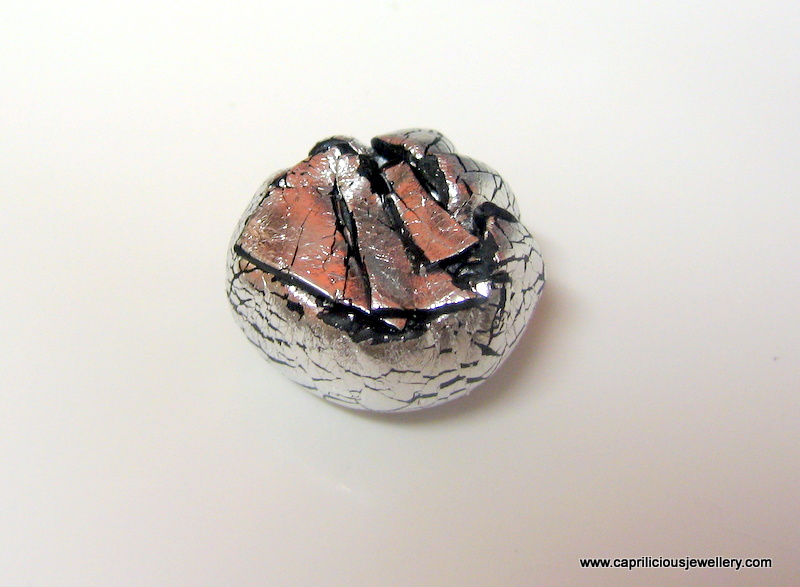
If there are any empty spots, do not manipulate the silver clay to force it to cover the scrap clay. Cut small pieces of silver-leafed clay from the silver sheet and attach them over the defect - make sure there isn't too much black at the edges of these little pieces of clay. You could even cut the clay with an angled blade so that very little black is visible.
|
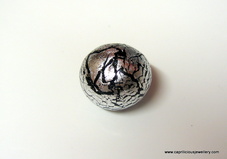
Roll into a round bead using a light touch from the palm of your hand on the ceramic tile/ glass work surface. Clean the work surface and acrylic plate with a baby wipe before you begin.
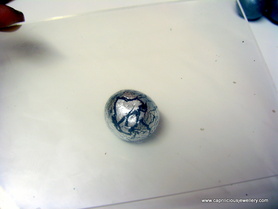
Place the acrylic plate over the bead and holding it gently with both hands roll the bead in a clockwise direction. You will find that a bicone bead forms almost immediately - if you roll with a light touch, the point of the bicone bead is high - the greater the pressure exerted, the flatter the bead. If you exert too much pressure, a lentil shaped bead will appear and the crackling will be marked.
Tip :-
Tip :-
- Decide where you will pierce the bead and apply the acrylic plate to that area - the crackling is more pronounced at the points of the bead.
- Do not touch the bead with your fingers, or if you must, exert very little pressure so that there are no fingerprints on the bead.
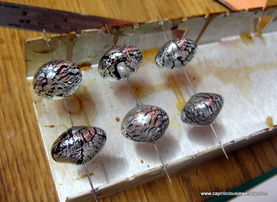
Pierce the bead with a bead pin and put it on a bead baking rack. Cure according to the clay manufacturer's instructions.
You can see that there is some crackling, but it is fairly fine.
You can make up another silver sheet if you need more beads - there will be no wastage if you do this in stages, as you go along.
You can see that there is some crackling, but it is fairly fine.
You can make up another silver sheet if you need more beads - there will be no wastage if you do this in stages, as you go along.
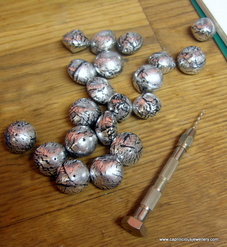
While the beads are still warm, enlarge the bead holes with a hand-held drill or pin vise. Unless you have some contraption to hold the bead, you may find it difficult to use an electric drill - and it will look terrible if the bead holes come out in a different place to the ones you originally made with the bead pins.
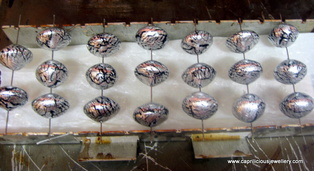
When the beads are cool, seal the silver leaf with a varnish - I used Fimo semi-gloss varnish to give a soft glow to these beads. I applied the varnish with a soft brush, put it in the oven for 15 minutes ( the oven had been turned off after curing the beads) and repeated the procedure a second time. this time leaving the beads in the cooling oven for 30 minutes.
Tip:-
You could also smear the bead with a very thin layer of liquid clay, and put it in the oven to cure - this is best done once the beads are already cured once. If you make a mistake and try to do this with uncured beads, wet your finger with water and smooth the bead down or the silver foil will look 'feathered' and rough as it attaches itself to your sticky fingers/brush - you may well wonder how I discovered this rescue method!
When it comes out of the oven, it will appear to have a dull, milky covering. A quick blast with a heat gun will turn the bead shiny again. Be extra careful not to burn the bead as the silver leaf will attract and retain the heat - move the heat gun constantly - yes it takes some doing if you have many beads, but you will be so pleased with the effect. Scorched beads look terrible and smell even worse!
14mm beads - roll your scrap clay to No 3 on the pasta machine, cut a circle with a medium cutter and cover with the silver sheet cut out using a medium cutter.
12mm beads - roll your scrap clay to No 5 on the pasta machine, cut a circle with a medium cutter and cover with the silver sheet cut out using a medium cutter.
10mm beads - roll your scrap clay to No 5 on the pasta machine, cut a circle with a medium cutter and use 2/3rds of the circle per bead. Cover with the silver sheet cut out using a medium cutter.
If you use gold/ copper foil, the beads will resemble faux pyrite.
Now, go make some lovely jewellery with your shiny, pretty beads!
