|
|
Make 'Constellation Earrings' - Colour Polymer clay using Chalk Pastels
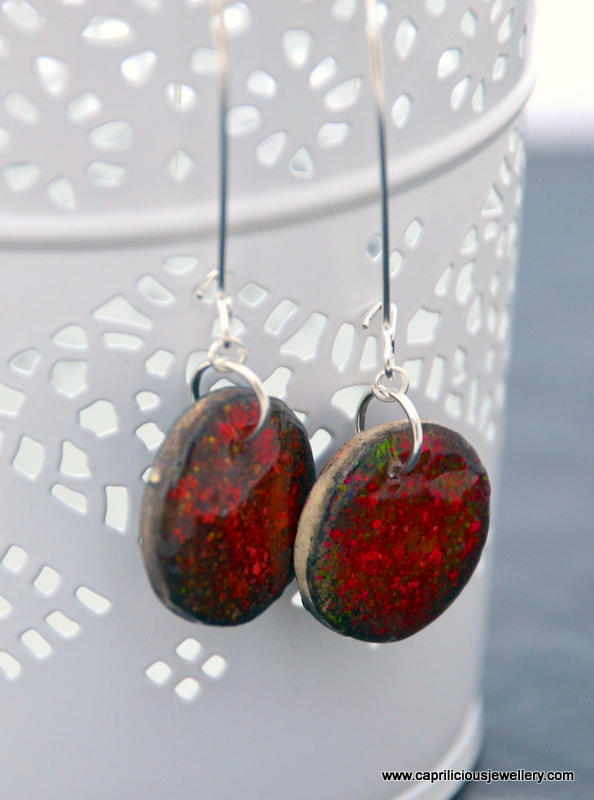
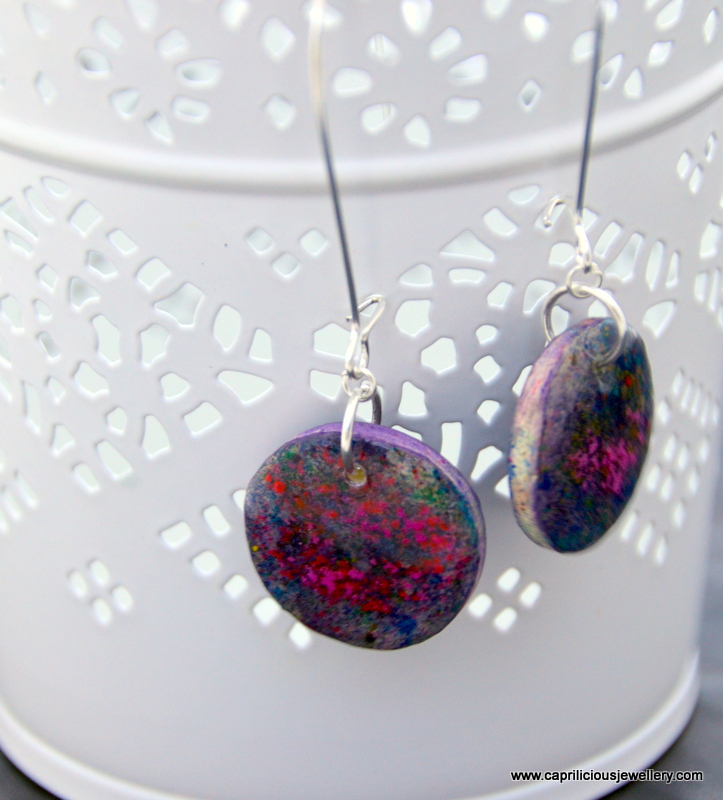
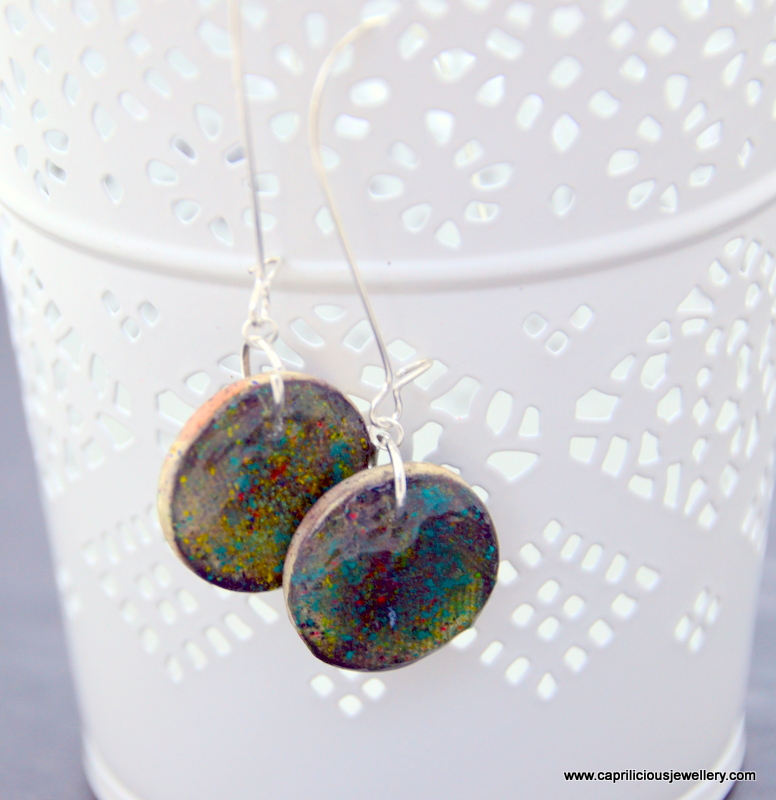
This tutorial introduces you to a new and exciting method to colour polymer clay. There are very few detailed tutorials about this method, although many people are using chalks in recent times. Let me show you how to make these pretty earrings which, although easy to make, look fabulous and are sure to bring in the compliments. I have written in two alternative methods to finish off the earrings, depending on the materials you have available to you.
Materials
You should find most of these in your regular polymer clay tool kit so don't be intimidated by the length of the list
- Ecru polymer clay ( or a mix of white, brown and orange clays)
- pasta machine
- round cutters ( or any shape you like)
- Exacto knife
- coarse sandpaper (optional)
- Soft pastel chalks in the colours of your choice - You need a couple of dark colours, and some contrasting colours.
- A blade to shave the chalks
- Ceramic tile as a work surface
- oven to cure the clay
- polyester batting to prevent shiny backs on the discs when in the oven
- 3-D Crystal Lacquer by Sakura
- Pin Vise or Dremel tool
- Extra long kidney ear wires and jump rings
- Pledge Floor polish
- Translucent Liquid Sculpey (optional)
- Heat gun (optional)
- Lisa Pavelka Magic - Glos UV Resin (optional)
- Needle tool
- Fine paintbrush
- Q tip (optional)
Start By Conditioning an Ounce of Ecru Clay
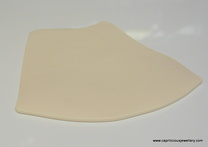
Condition an ounce of Premo ecru clay - if you haven't any ecru, mix up an ounce of white + pea size balls of yellow + brown + orange. Roll it out to the thickest setting of the pasta machine.
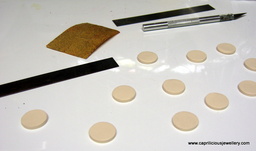
Using a cutter, cut out the shapes for the earrings. Smooth out the edges and any ragged bits of clay that might be left behind from the cutter.
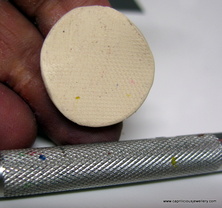
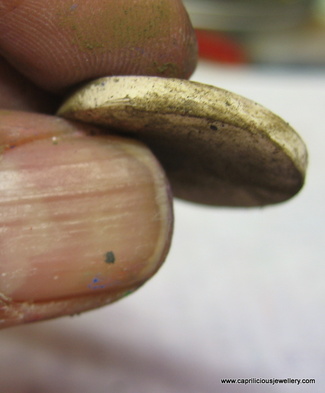
Texture the cut out shapes using coarse sandpaper or the cross hatch marked on your exacto knife or other tool - this prevents fingerprints from showing up and provides a larger surface area for all the other elements that are about to be heaped onto this tiny disc. Just roll the texture of choice over the discs gently - do not flatten the discs.
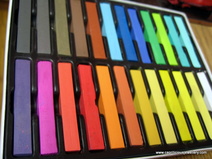
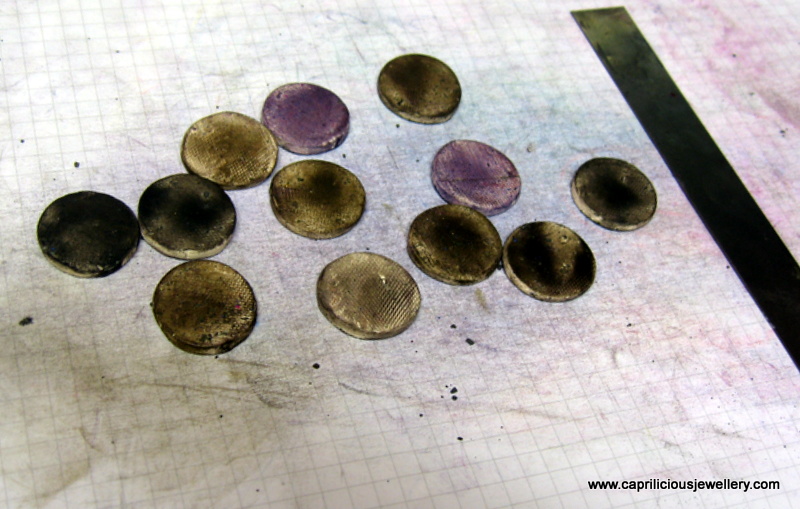
Add colour using soft pastel hair chalks - shave a bit of chalk powder onto a paper, making sure that the pigment particles are crushed and ground down finely using the back of your needle tool so that the colour smears evenly across the discs. Leave bits of the disc very lightly covered, or even uncovered by chalk.
These are the chalks I used - they aren't expensive - look for pastel chalks or even 'hair chalks'. I bought them on ebay.
These are the chalks I used - they aren't expensive - look for pastel chalks or even 'hair chalks'. I bought them on ebay.
Colour all the discs on both sides and the edges - don't worry if the colour is patchy.
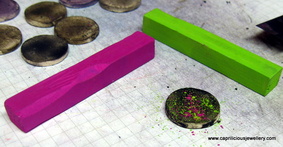
Shave a tiny amount of a contrasting colour - or two, directly onto the discs. This time, the pigment can be in clumps, there is no need for it to be as smooth as in the last step.
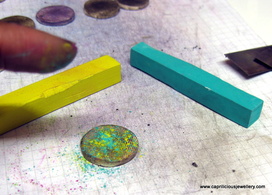
This is so much fun - use as many colours as you like. Dab the colours onto the clay gently using a finger - don't distort the clay or smudge the colours, just dab gently.
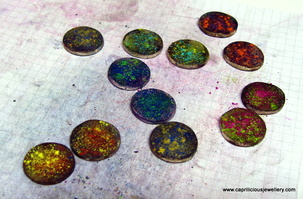
Cure according to the manufacturers instructions. Do not dip the discs into water to cool - you run the risk of losing any pigment that hasn't adhered to the clay. If some drops off, don't worry, we will rectify that in the next step.
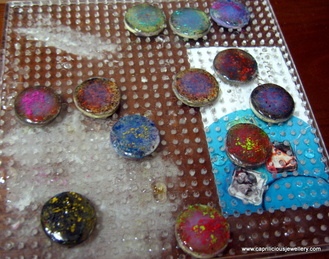
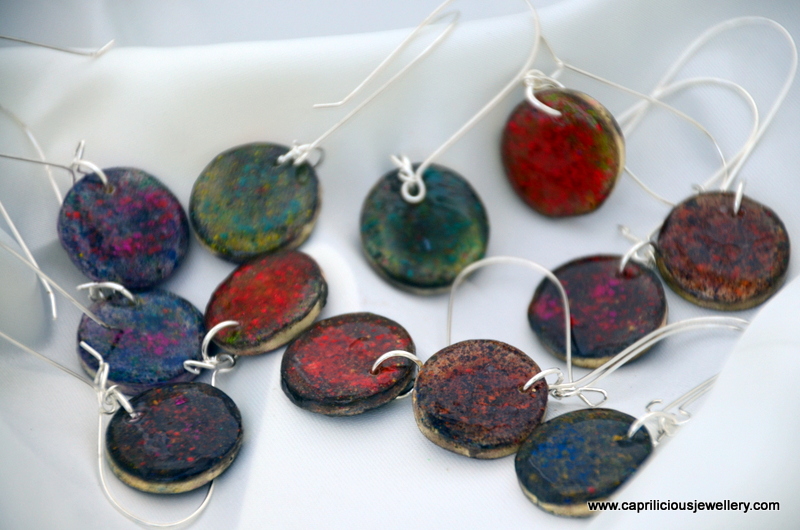
Add varnish once the discs are cool - I used 3D Crystal Lacquer by Sakura - the bottle comes with a handy nozzle and the varnish can be dripped directly onto the discs and spread gently with a needle tool. The varnish will not spill over the edges due to surface tension unless you overload the disc so add only a little bit at a time. If it looks like you might have added too much, wick up some of the varnish with a Q tip or dry paintbrush from one side. Try not to touch the pigment on the discs.
Shave a tiny amount of chalk pigment onto the varnish if necessary - this will adhere to the varnish and replace any that might have fallen off.
You may need to add a second coat of varnish after a couple of hours - you can add some more pigment if you think it is necessary.
Give the backs a coating of Pledge floor polish or any other varnish used for polymer clay once the fronts are dry.
Drill holes for the earring findings using a pin vise or rotary tool. It is best to do this after the varnish has set so that there is no danger of the varnish running off the disc through the holes made at an earlier stage.
Add earring findings using jump rings through the holes you drilled. You will need a 7-8mm jump ring to go through the disc, and a 3mm ring to add the disc to the ear wires. I used extra long kidney ear wires as the earring discs are quite small and these ear wires add elegance to your jewellery.
Alternative method
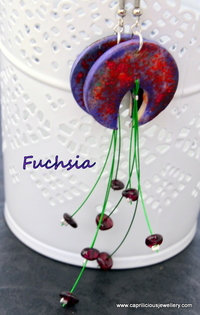 A thin layer of liquid clay has been used to adhere the pigment to the clay
This is an alternative method to hold the pigment onto the discs. Start by adding background colour, as before.
Add a thin layer of liquid clay and then shave the contrasting chalk colours onto the disc over the liquid clay and cure according to manufacturers instructions - this ensures that the chalk adheres to the clay, but you will still have to varnish the discs if you want to get them shiny - this gives the earrings the 'constellation' effect. If you are not looking for any depth to the finish of the earrings, use a heat gun to bring the liquid clay to a gentle shine. The earrings on the left have been finished in this way.
You could also use resin for the shiny effect - UV resin or two part epoxy resin will give you the depth of colour required.
I used the 3 D varnish as it seemed a simpler way to achieve the same effect - ordinary varnish will not give you the depth required for this.
