|
|
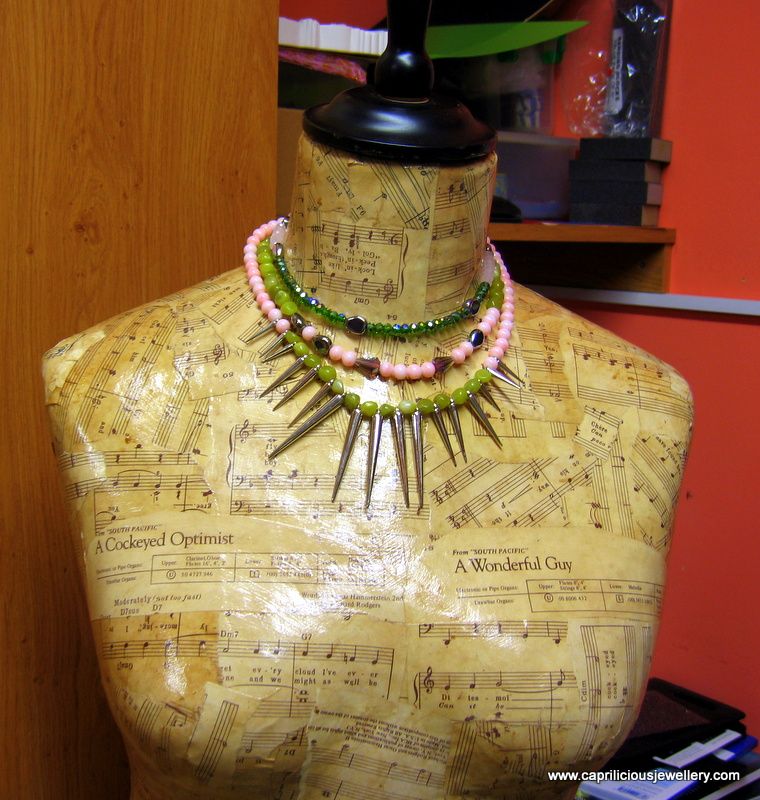
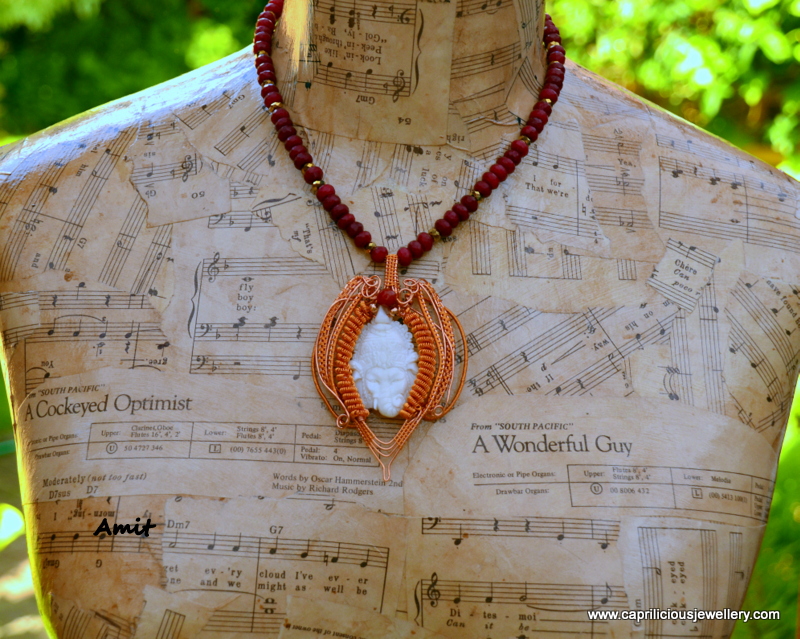
Decoupaging a Polystyrene Mannequin
This mini - tutorial is aimed at decoupage virgins - when I wanted to decoupage my mannequin, I searched the internet, but couldn't find all the information I needed in one place. Most articles were for people who already knew what they were doing and just needed a little nudge in the right direction. A lot was left out - for instance - how much paper, how much Mod Podge? If I haven't mentioned something or you need to ask a question, don't hesitate to ask.
Let's begin at the beginning.
Let's begin at the beginning.
Supplies
- You need a mannequin - the cheapest ones are on ebay - I picked one up for £18 and had a friend pick it up - I suppose I should add the cost of cooking a meal for my friend to this.
You need paper - I decided on black and white so as not to clash with my jewellery - you can get some fabulous images from The Graphics Fairy for free, should you want to print images out for yourself. I was lazy - and don't have a printer at home, so I bought the ultimate black and white - sheet music!
- 10 - 15 used tea bags and either 5 fresh tea bags or 50 gms of loose leaf tea. If you use only used tea bags, your solution will be that much weaker.
- Papier mâché or paper clay if the mannequin has holes and dents that need to be filled in.
- Foam brushes - a pack of three costs about £1.85. Ordinary bristle brushes will work, but the process takes a lot longer, added to which there is the risk of a streaky finish.
- Mod - Podge - you will need an 8 oz bottle for this project. It is non toxic white glue - but can still give you a headache in a confined space. It doesn't have to be glossy finish if you have the next item on the list.
- Pledge Floor Shine from johnson and Johnson (UK). In the US it is called Future. You will need about 200mls. If you don't have it, you will need to substitute it with another 8 oz of Mod Podge with a glossy finish.
- Paper for decoupage - I needed 12 sheets of music to cover the entire mannequin, perhaps a couple of extra sheets in case some are ruined. I made loads as I didn't know how much I would need. You will find sheet music in your local musical instrument store. I bought three books for 50 pence each, but would only have needed one.
- Order a sunny day, and an outside space to work and dry your paper. If not, you will have to dry the paper in an oven.
- rubber gloves - an absolute must have.
- Optional - instant coffee granules ground up finely
- Mod Podge and foam Brushes should be available in your local craft store, or on Amazon or ebay. Pledge is found in the supermarket - I got mine in Sainsbury's.
- The whole process, from antiquing the paper to the final coat of varnish takes about 6 hours.
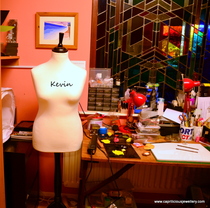
My mannequin turned out to be a polystyrene form on a pedestal with a nylon over sleeve.
Take the sleeve off and examine the bust - if there are any dents/ holes you will need to fill them in. A bit of paper clay or papier mâché with some Mod Podge mixed in will work a treat. Do this and allow to dry before you begin the decoupage process.
Take the sleeve off and examine the bust - if there are any dents/ holes you will need to fill them in. A bit of paper clay or papier mâché with some Mod Podge mixed in will work a treat. Do this and allow to dry before you begin the decoupage process.
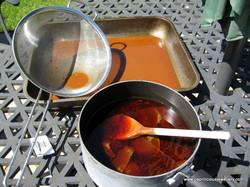
Boil up the tea leaves and used tea bags - I used half a packet of loose leaf tea, and threw in two days worth of used tea bags collected for the purpose. Add enough water to cover the tea, and boil for 10 minutes and then strain the liquid into a large roasting tin. You don't need more than 500mls of water to cover the entire mannequin.
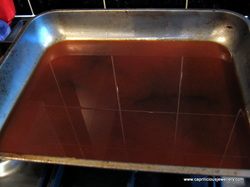
Allow the liquid to cool. While this is happening, crumple a dozen sheets of sheet music - or any other paper you like. Crumple and crease them, and then smooth them back out.
Take the paper and cold tea outdoors - I cannot emphasise this enough - I started indoors in a place with good ventilation, in spite of this, I soon developed a bad headache and had to move the entire enterprise outdoors.
Pick a sunny day for this venture, or you will be forced to work indoors and to dry your paper in an oven.
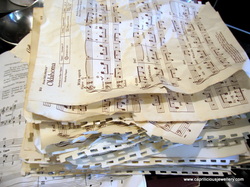 Crumpled Sheet music
Detach the sheet music from any staples/ book covers holding it together and separate it into single pages.

Dip the sheet music, page by page into the tea until completely submerged, and then lay it on the grass to dry.
If you wish, sprinkle some ground up instant coffee granules on the wet paper sparingly - it leaves dark brown speckly marks on the paper - do not go overboard.
If you wish, sprinkle some ground up instant coffee granules on the wet paper sparingly - it leaves dark brown speckly marks on the paper - do not go overboard.
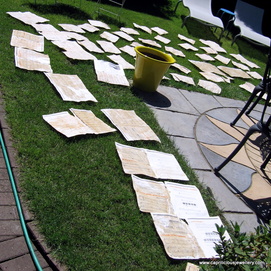
You will end up with this - I did say I made too many :)
Allow it 20 minutes to dry in the sun and go and have a cup of tea while you wait.
If it isn't completely dry, don't worry, that's quite OK as you are only going to wet it again in a moment.
If you can't find a day that isn't windy you will need a selection of pebbles from the garden to weigh the papers down, unless you fancy chasing them around.
You could in theory dry the paper on a radiator - but there will be a mess - tea stains on a carpet aren't pretty. You could also turn the oven on low - about 80 - 90 degrees C and pop the papers into it to dry.
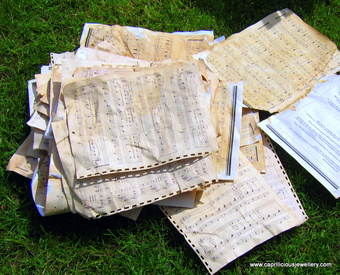
Collect up all your 'antiqued' paper. Place your mannequin on newspaper to collect all the drips you are going to make, put on your rubber gloves.
Pour the Mod Podge into a container - an old ceramic or glass cereal bowl - you may want to use something you can throw away as the Mod Podge dries rock hard and removing it will be difficult. Don't use any container you wish to keep, or paper plates. Keep the lid on the Mod Podge tightly shut - you don't want to accidentally knock it over your project, or waste it, as it is quite expensive. Also, exposure to the air causes it to harden - as you will soon find in your ceramic/glass bowl.
Pour the Mod Podge into a container - an old ceramic or glass cereal bowl - you may want to use something you can throw away as the Mod Podge dries rock hard and removing it will be difficult. Don't use any container you wish to keep, or paper plates. Keep the lid on the Mod Podge tightly shut - you don't want to accidentally knock it over your project, or waste it, as it is quite expensive. Also, exposure to the air causes it to harden - as you will soon find in your ceramic/glass bowl.
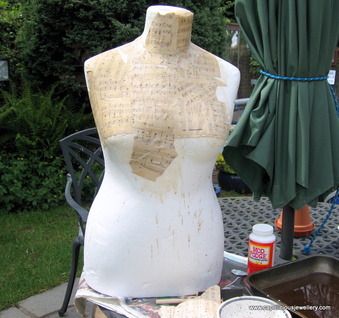
Tear the paper roughly into palm sized pieces as you go along. The pieces of paper around the breasts and the curve of the neck will need to be smaller than this or you will have too many wrinkles in the finished mannequin.
I suggest you start on a flat area till you develop a rhythm.
Tear a palm sized piece of paper, dip it in the cold tea, place it on your non dominant palm, paint it with Mod Podge with a foam brush, and slap it onto the mannequin.
Smooth out the creases with your palm, and expel the air that might be trapped behind the paper with a finger. Make sure the edges are stuck down firmly - pay special attention, as once the Mod Podge dries, any protruding edges will be like razor blades and you will have to sand/ trim them down - this might disturb the prettiness of your design.
You could potentially use larger pieces at the bottom of the piece where it is flatter, but you will soon realise that it is prettier when the pieces are smaller.

Once the paper is stuck down, dip the largest foam brush in Mod Podge and paint over the surface.
You could omit the second dip in the tea - but the pieces will be lighter in colour, and you will need much more saturation with Mod Podge to soften the dried out, crinkly, 'antiqued' paper.
You could omit the second dip in the tea - but the pieces will be lighter in colour, and you will need much more saturation with Mod Podge to soften the dried out, crinkly, 'antiqued' paper.
- The second dip in the cold tea softens the paper, reducing the occurrence of wrinkles, reducing the amount of Mod Podge you will require, and allows the paper to follow the contour of the mannequins figure.
- If you like the colour you have and don't want to go darker, just dip the paper in plain cold tap water
Don't Worry if this Happens
- As you go along, the Mod Podge that looks white and strange will dry to a clear hard finish. Thick streaks might be better smoothed down with a gloved finger to prevent streaks and to speed up drying.
- Don't worry about small bubbles. They pop themselves as the glue dries.
- Don't worry about minor streaks in the Mod Podge - you will be painting over it a couple more times, and that will even the surface up.
- A few wrinkles will occur in the paper - that is par for the course - you will not get a completely smooth finish and it looks perfectly OK.
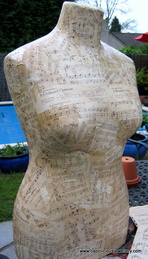
Leave your creation to dry - that takes about half an hour - go and have another cup of tea. You will need to wash your brushes at this stage or they will be covered with Mod Podge and go hard by the time you come back to your project.
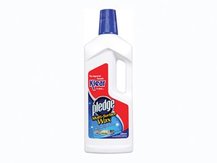
Pour out some Mod Podge into the bowl, and dilute it with a good glug or two of Pledge floor polish. Mix with the foam brush, and paint it all over your mannequin. Check it carefully for edges that might have come loose. Put extra glue behind these loose edges and push them gently onto the mannequin using the handle of the foam brush, which is conveniently hard and flat ( mine were!).
Allow to dry (one more cuppa??) and repeat. The mannequin is dry to touch after about 30 mins, but I would leave it overnight in a dry place and Voila, you are good to go!
